Saturday, June 30, 2018

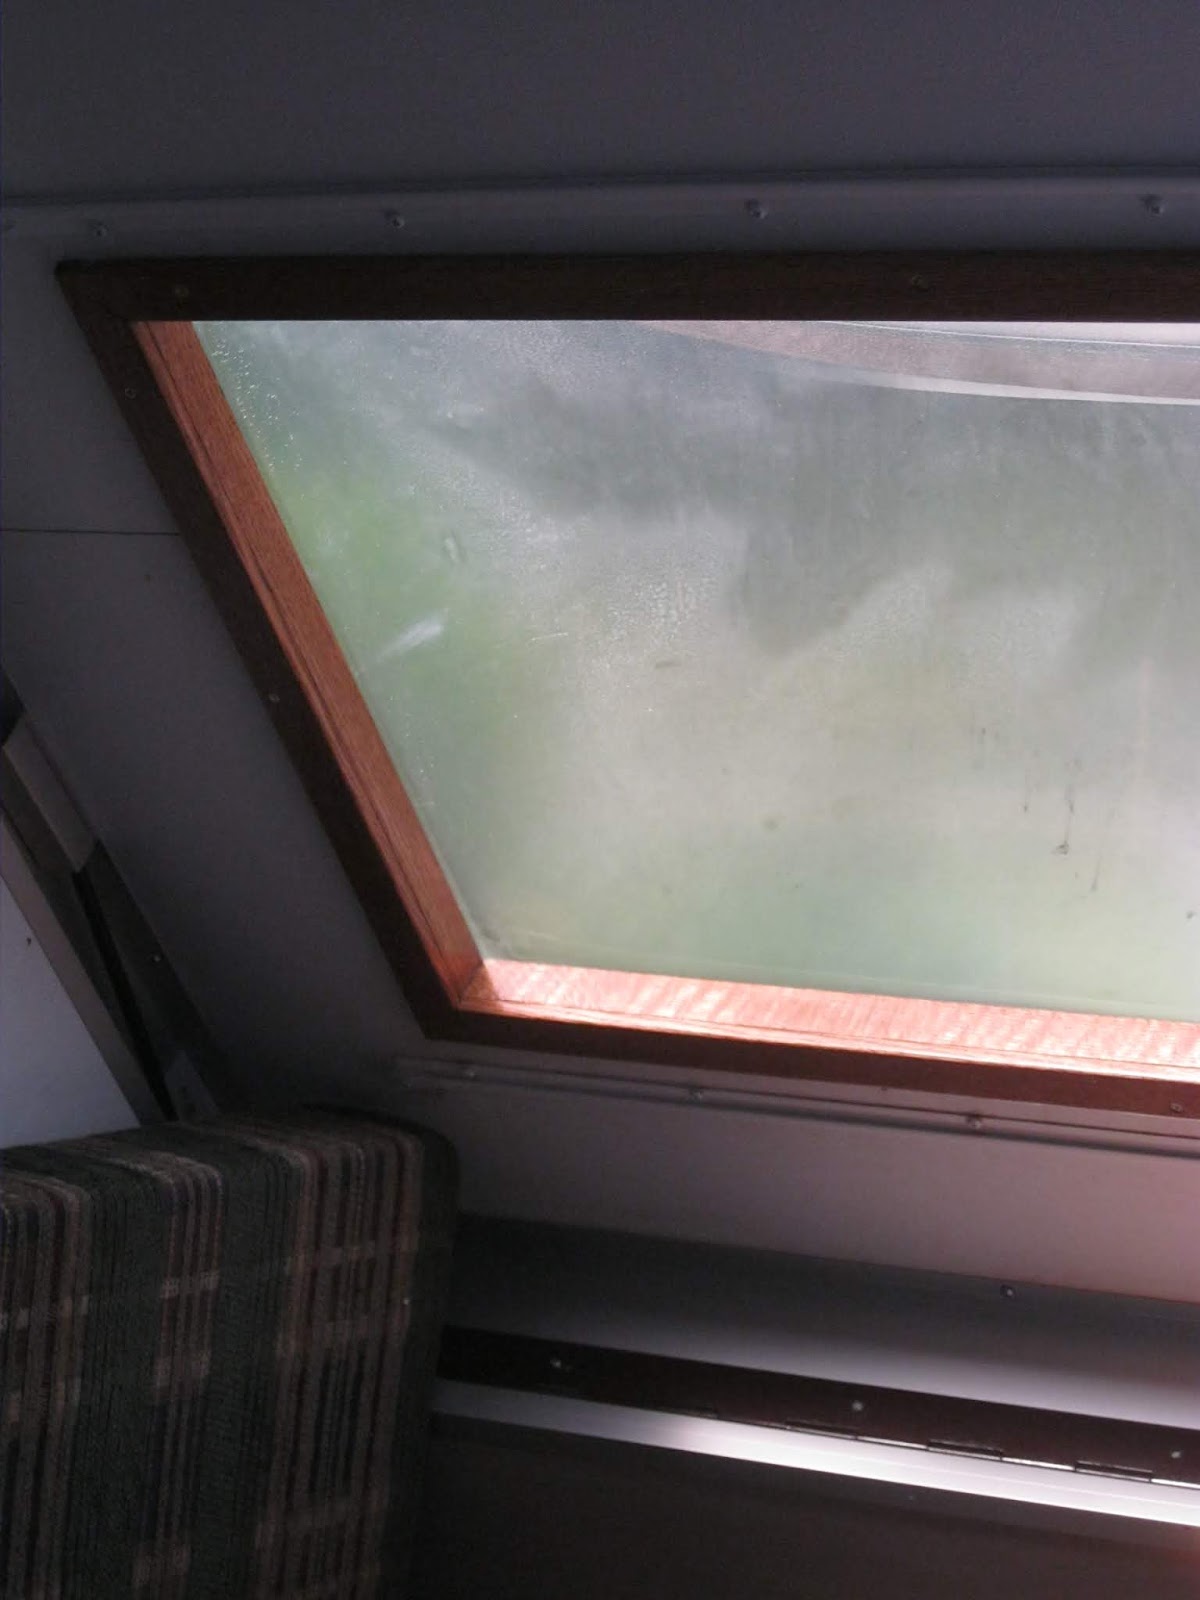
6/30/18       Getting the A-liner ready for the season. This may be the last summer that we use it before moving to NZ, or not, but we have some camping planned. First issue is to replace the front dome window casing as the old plastic one is broken and buckled, and just ugly. I bought some nice oak mullion that I joined to make a 2" x 1.5" angle stock from which to make the new frame. I'm mitering the corners and hope that I don't have to modify the opening too much ti get it to fit. Photos to be posted soon. The next order of business will be to apply Eternabond tape to all the external seams to try to stop the persistent leaks that seem to plague so many A'liners. More on that soon too.
7/1/18        The new window casing is made, now to sand, stain and install it. We put the first Eternabond stripping on the left side vent yesterday. It went on well, though is super sticky stuff to work with, not at all forgiving if you put it in the wrong spot!


Tuesday, August 8, 2017

Air Conditioner Replacement

What a blunder! In the fall of 2016 I decided to drill a small hole in the bottom of the air conditioner pan to let it drain better. Mistake! The condenser coils are very close to the bottom front of the housing and I put a tiny nick in one of them. Of course all the coolant immediately leaked out.
We looked at the prospect of repairing it but decided that, by the time we got it out, shipped it, paid for repairs, and reinstalled it, we would be better off just to replace it. Finding a new one to exactly fit the opening was tricky, but we eventually found that an LG model LW 6017R would fit right into the opening and do an excellent job of cooling the camper. The first thing of note is that the LG air conditioners use the model number to describe the capacity and year of each model, and these change each year. So an LW is a through-the-wall type, the 60 stands for 6000 BTU capacity and the 17 is for the year. I have not figured out what the R is for.
We followed the excellent video posted at this link:
 https://www.youtube.com/watch?v=z3EqSoG5ka4&t=112s

He gives very clear instructions and video of the replacement, and it goes just fine. Here are a few shots of our work. I hope that this will help a few others who tackle the same task.




Saturday, April 22, 2017

Saturday 4/15/17
First camping trip for the 2017 season.
 We headed out around 11:00 AM for points South. Went as far as the Front Royal KOA. We have stopped at this place several times over the years as it is a convenient half way point on the way to Wilmington NC to visit family. If you are looking for the most modern and best kept campground in town this one is not it. However the managers are friendly, it has all the basic necessities, and is reasonably priced at $34. We Plugged in, made dinner, and settled in for a quiet night. We also put out our little bit of spring that we just couldn't leave back in NY to die
In this photo you can also see the extension step that we had made at the end of last year. It certainly makes getting in and out of the camper easier for oldies like us.
As often happens the Aliner attracted visitors in the morning as we were finishing up breakfast and getting ready to leave.
Meeting other travelers really is one of the best parts of camping.

Saturday, October 22, 2016

We found a lovely campground last weekend on the shores of Lake Ontario at Hamlin Beach State Park North West of Rochester NY


. Absolutely perfect weather with temps in the low 80s sure helped, but even so, it is a beautiful park and we can thoroughly recommend it.
Like every Aliner owner......  Ok, Like many, we have had our share of leaks. Mostly these have been around the rear dome window. It is generally less of a problem if we store the camper in the up position, and not when down with its custom cover over it. Once again recently though, we had torrential rain and a small leak. I looked very carefully at the bubble and saw that the left upper corner was showing signs of tiny cracks through the last lot of silicone that I put on there. I caulked it again with clear silicone adhesive and then put a 1/2"  aluminum angle rain deflector on that part of the roof similar to the one that I have on the front. It is held in place by one screw each side into the Aluminum frame of the roof and by silicone adhesive caulk in the area between. 
It got thoroughly tested over the last two days as we have had heavy rains for almost 48 hrs straight. It effectively deflects the rain to the sides, and there has been no leaking. I'm keeping my fingers crossed even so.


Sunday, September 25, 2016

We added and indoor "toilet".....well, "Porta-potty" may be a better name for it. On one of our weekends last year we were at a state campground in central NY on a Friday night. We had been cautioned by other senior campers on the Thursday that they would all be pulling out on Friday morning to avoid the weekend party groups. They weren't wrong! the partying started well before sunset and went on until the wee hours of the morning. During the night Pat had to get up for a quick visit to the ladies room. I always accompany her, at least to the general vicinity. When she came out she said that there was a considerable amount of puke on the floors and stalls and one drunken girl still in there drinking and puking alternately. That was the point at which we decided to make an inside toilet of our own for future late night stops. It worked out great. We don't use water in it, but instead (on the advice of other veteran campers of our age) just line it with a plastic bag and put about three cups of unscented kitty litter in the bottom. there is no smell, a goodly amount of pee can be absorbed, and it can just be dumped in the trash in the morning. I had to raise the lid of the front compartment just a little to fit the toilet in, but it works Great! I appreciate it too.


great!

Saturday, September 17, 2016

Hi folks,
I posted a question on the Aliner Owner’s list serve a few days back about a problem of the battery in our Aliner not charging. I found that all the fuses were fine, it was the battery that was not. I replaced that and now the 12v system is fine again,   but now we have another problem.

We towed the camper from Syacuse, NY to Wilmington, NC in July and when we got there found that there was an audio alarm sounding whenever we turned one of our interior 12v lights on. According to our owner’s manual this is an overload warning. Here’s the odd bit though, it is perfectly fine when we are running off the brand new battery, but the alarm sounds when we are plugged in to shore power. It seems to be just that one light that sets it off though. We can run everything else at once with no problem but the alarm sounds when we turn on the one light. It’s a 12v, 50W screw base lamp that I spliced into the system. The odd bit is that it has worked perfectly for the last couple of years, then suddenly we have this problem. More to come on this soon ……….  A solution, I hope.